
Common Jam-Making Mistakes and How to Fix Them
Why jam stays runny, grows mould or turns gritty — and the practical fixes, from testing the set to processing jars safely.
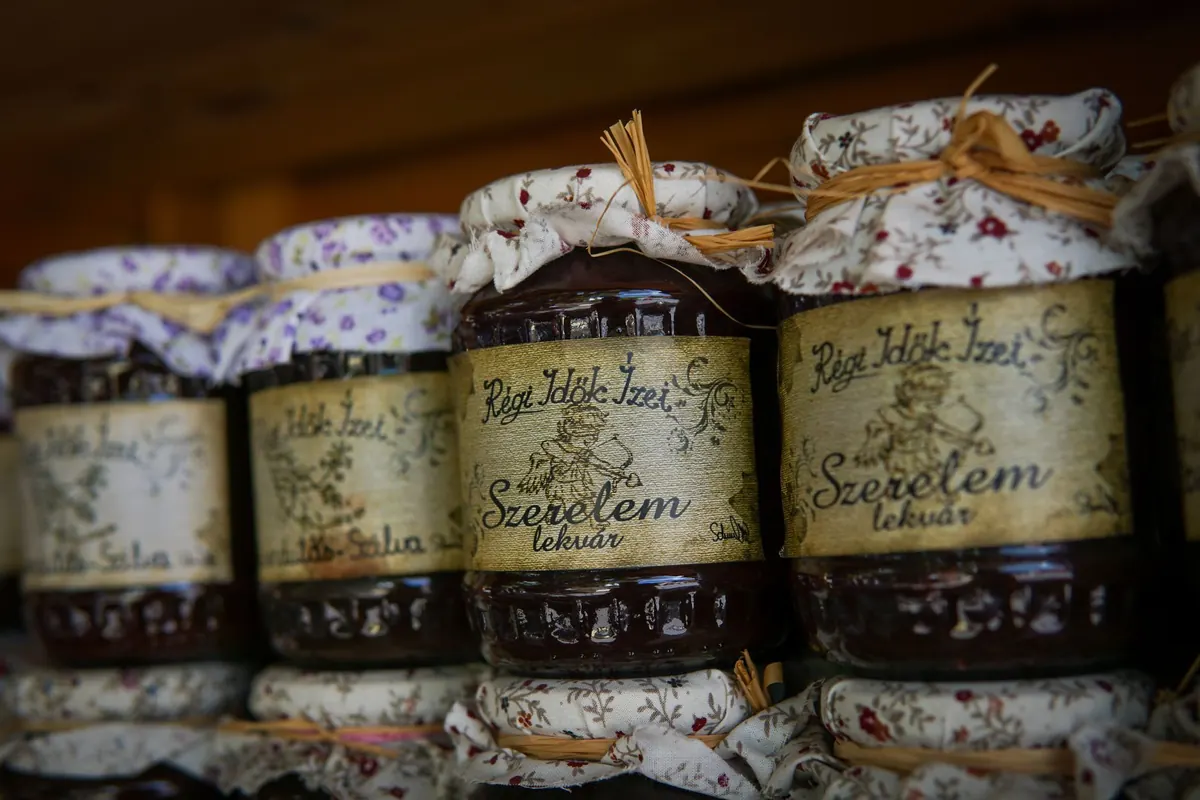
Few kitchen projects are as satisfying as a shelf of homemade jam, and few are as quietly annoying when something goes wrong. You spend an afternoon stirring, fill eight jars, and a fortnight later one has a fuzzy halo under the lid while another still pours like cordial. Jam is a simple formula — fruit, sugar, acid, heat — which is exactly why small misjudgements show up so plainly in the jar. Here are the faults that come up most often, what causes them, and what to do about each.
Why Your Jam Won't Set
Set depends on three things working together: pectin, acid and sugar. If one is out of balance, you get syrup with fruit in it.
Start with the fruit
Underripe fruit contains more pectin than ripe fruit; overripe fruit has lost most of it. If your strawberries were soft and deeply coloured, they were probably delicious and nearly pectin-free. Fruits such as strawberries, cherries, peaches and rhubarb are naturally low in pectin, while apples, gooseberries, blackcurrants and redcurrants are high. Pairing a low-pectin fruit with one from the second list, or adding a pouch of commercial pectin, solves most problems before they start.
Acid matters too. Pectin needs it to form a gel, which is why so many recipes call for lemon juice. Don't reduce it to save a lemon, and don't swap it for water.
Test the set properly
Put a saucer in the freezer before you start boiling. When the jam has thickened, drop a teaspoonful onto the cold saucer, wait a minute, and push it with your finger. If the surface wrinkles, it's ready. If it slides, keep boiling and test again with a fresh spoon. A sugar thermometer is more reliable: jam reaches its setting point at roughly 104–105°C at sea level, though altitude and sugar content shift that figure slightly.
Rescue options
Runny jam can usually be saved. Return it to a wide pan with a good squeeze of lemon juice and boil hard for another five minutes, testing as you go. If that fails, stir in liquid pectin according to the packet instructions and boil for the stated time. And if it still won't set, stop fighting: label it fruit sauce, and spoon it over yoghurt, pancakes or ice cream. It will taste exactly as good.
Crystallisation: When Jam Turns Gritty
Grainy jam is almost always a sugar problem, not a fruit one. Common causes include too much sugar for the amount of acid and pectin present, sugar that wasn't fully dissolved before the boil, and stirring during the boil. Every splash on the side of the pan dries into crystals, and those crystals seed more of the same in the jam below.
The fix is mostly a change of habit. Warm the sugar in a low oven so it dissolves quickly, stir off the heat until you can no longer feel grains on the back of the spoon, then boil hard without stirring. Keep a pastry brush and a cup of water nearby and wash down the inside of the pan whenever syrup creeps up the sides. Very hard water can contribute as well; filtered water for the fruit helps.
An already-crystallised jar can sometimes be rescued by gently rewarming it with a tablespoon of water or lemon juice and stirring until the grains dissolve. If it stays grainy, use it in baking or swirl it through porridge. Grainy jam is a texture fault, not a safety one.
Mould: Where It Comes From
Mould needs a way in, and jam jars give it a few. A dirty rim, a chipped lid, too much headspace, a low sugar ratio or a jar that has been open in a warm cupboard for weeks will all do it. If you can see mould on the surface, throw the whole jar away. Scraping the top off is not enough — mould can produce compounds that spread well beyond the visible growth.
Prevention comes down to routine:
- Fill hot, clean jars straight from the oven, dishwasher or a pan of boiling water, and fill them while both jam and jar are hot.
- Leave the headspace your recipe specifies — usually a scant 5mm to 1cm — and no more.
- Wipe the rim with a clean damp cloth before the lid goes on, and use lids without rust, dents orprevious dents or damage.
- Follow the recipe's processing instructions rather than skipping them.
- Store in a cool, dark, dry place, and refrigerate once opened, using within a few weeks.
Safe Processing, Step by Step
Sterilise your jars by running them through a hot dishwasher cycle, standing them in a low oven, or boiling them for ten minutes. Keep them hot until the moment they're filled. Ladle the jam in through a wide funnel, poke out any air bubbles with a skewer, wipe the rim, and seal.
If your recipe calls for a water bath, set the jars on a rack in a deep pan, cover them by 2.5–5cm of water, bring to a full boil and start timing. Follow your recipe's timing for your jar size, and adjust for altitude if you live somewhere high. When the time is up, turn off the heat and leave the jars in the water for five minutes before lifting them out onto a folded cloth.
Leave them undisturbed for twelve to twenty-four hours. A properly sealed lid curves downwards and doesn't flex when pressed. If a lid pops, that jar goes in the fridge and gets eaten first.
Small Faults That Add Up
Floating fruit usually means the fruit wasn't softened enough before the sugar went in, or the jam was too thin to hold it. Simmer the fruit on its own until tender, and let the finished jam rest for five minutes off the heat, then stir once before potting. Foam is harmless; skim it off, or add a small knob of butter to settle it. A dull, dark colour comes from long boiling, so use a wide pan in small batches to reach the setting point faster. Tough skins and hard chunks point to the same cause as floating fruit: not enough time before the sugar.
Before the Next Batch
Weigh everything first, including the sugar — jam is one place where guessing goes badly. Use a wide, heavy pan filled no more than two-thirds, simmer the fruit before adding sugar, and boil without stirring once it's dissolved. Test the set twice before you commit to potting up, then fill hot jars, seal, process and label with the date. If a batch turns out runny or firm, eat it anyway. Texture is a preference; mould and a suspect seal are the only real reasons to bin a jar.
Photo: Tibor Szabo / Pexels